
During this week Computer Controlled Cutting was the topic. We had a task to understand about the cutting machines installed in our FAB LAB. As a part of our Group Assignment,
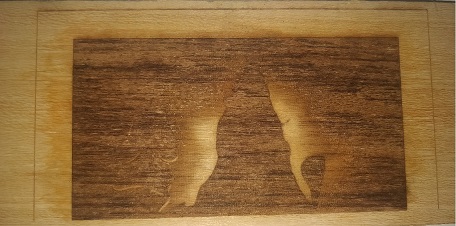
we were required to characterize our Laser Cutter for Engraving and Cutting Process. I had selected 3 mm thick piece of wood and started with the engraving process first. The details of the charecterisation done can be viewd in the link shown below:-
<group assinmment link>
The image of my engraving in the wood is shown below:-
Individual Assignment
It is a type of computercontrolled machine. The computer attached to the printer controls the movement of a sharp blade over the surface of the material. This blade is used to cut out shapes and letters from sheets of thin self-adhesive plastic (vinyl). The vinyl can then be stuck to a variety of surfaces depending on the adhesive and type of material.
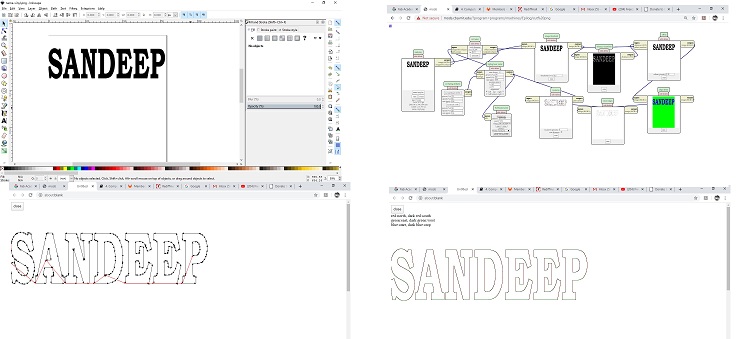
To cut out a design, a vectorbased image must be created with software. We have used Inkskape for designing purpose. Further, the image or letters are sent to the cutter where it cuts along the vector paths laid out in the design.
The cutter is capable of moving the blade on an X and Y axis over the material, cutting it into any shape imaginable. The vinyl sheet comes in a long roll because of which small designs or larger ones can be cut through the vinyl printer.
The one major limitation with vinyl cutters is that they can only cut shapes from solid colours of vinyl. A design with multiple colours must have each colour cut separately and then layered on top of each other as it is applied to the substrate.
Also, since the shapes are cut out of solid colours, photographs and gradients cannot be reproduced with a stand alone cutter.In addition to the capabilities of the cutter itself, the adhesive vinyl comes in a wide variety of colours and materials including gold and silver foil, vinyl that simulates frosted glass, holographic vinyl, reflective vinyl, thermal transfer material,
and even clear vinyl imbedded with gold leaf. (Often used in the lettering on fire trucks and rescue vehicles.)
The blade of the cutter has to be adjusted in such a way that it cuts only the vinyl and not the adhesive sheet below the vinyl.
Task- Vinyl Cutting by Roland GS-24 Vinyl Cutter
(xiv) After the cutting is completed, the sheet loading lever is released and the sheet is rolled further till knife guide so that the sheet which is cut can be separated from the vinyl roll.
It may be noted that some space may be provided above and below the design or the alphabets cut on the vinyl sheet so that it can clearly be separated from the vinyl roll.
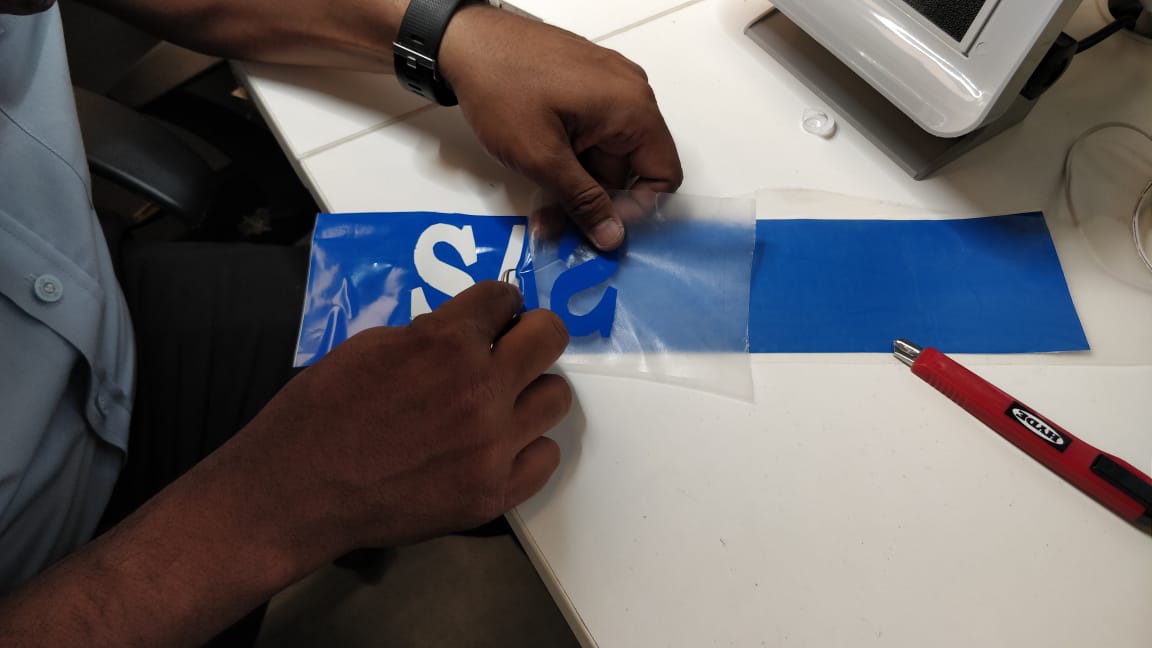
(xv) Further the tweezer was used to remove my print from the vinyl roll.
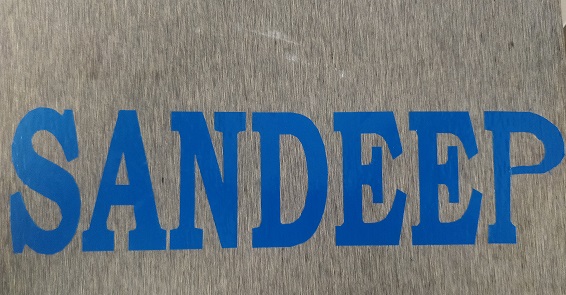
I have printed my name in the through the Vinvl Cutter. The picture of my design in Inkscape and the desired result is as under:-
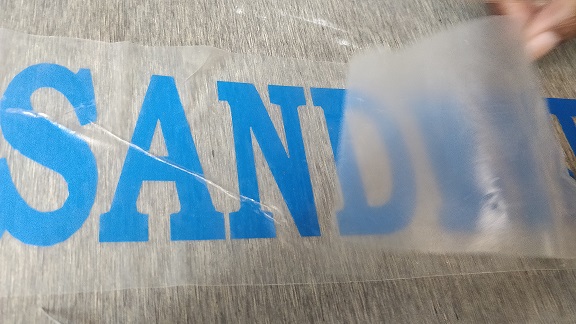
After printing my design on Vinyl, the same was extracted from the vinly sheet using transfer tape as per the image below:-
Further, the extracted design in the transfer tape was pasted on the target surface for obtaining my final product.
After all these excercises, I was able to get my Final design extracted from the vinyl cutter to be used on the surface I intended. Here is the view of the Final Result:-
LASER CUTTING AND ENGRAVING:-
In the second part of my assignment I had to prepare a Press Fit Kit which can be assembled in different way to have a outcome which is more than one. To design this the material which I used was 3.5 mm thick wooden board. The reason behind choosing this material is that, it was cheapest and easily available material and hence if my laser cutting or engraving doesn't goes well and the material is spoiled it would not be a huge loss for my FAB LAB.
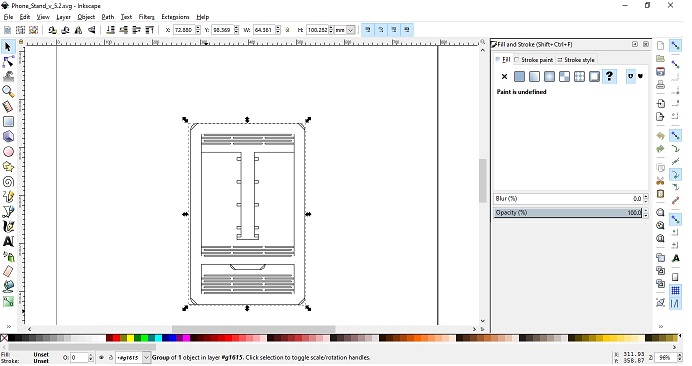
I intended to design a wooden mobile phone or iPad holder. The desing was taken from https://www.thingiverse.com/. The design was then opened through Inkscape and then printed directly through the laser cutter. The design of the Inkscape is shown in the picture below:-
Further, the parameters I has set during the engraving and cutting were as under:-
Speed (in %) |
Power (in %) |
Frequency (in %) |
|
Raster |
5 |
100 |
50 |
Vector |
5 |
90 |
51 |
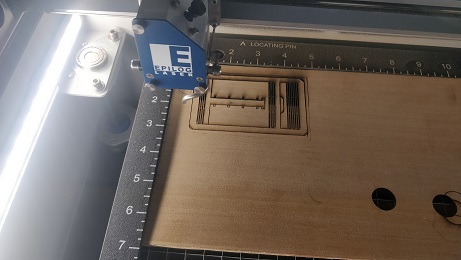
While design durning the cutting process is shown below:
The final result which I received was as desired. Pictures of my final design are as under:-
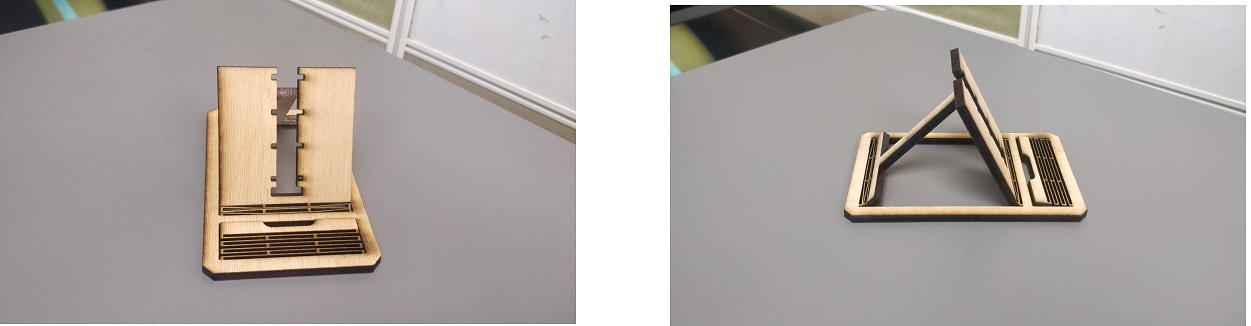
As its utility was very good which can be seen below:-
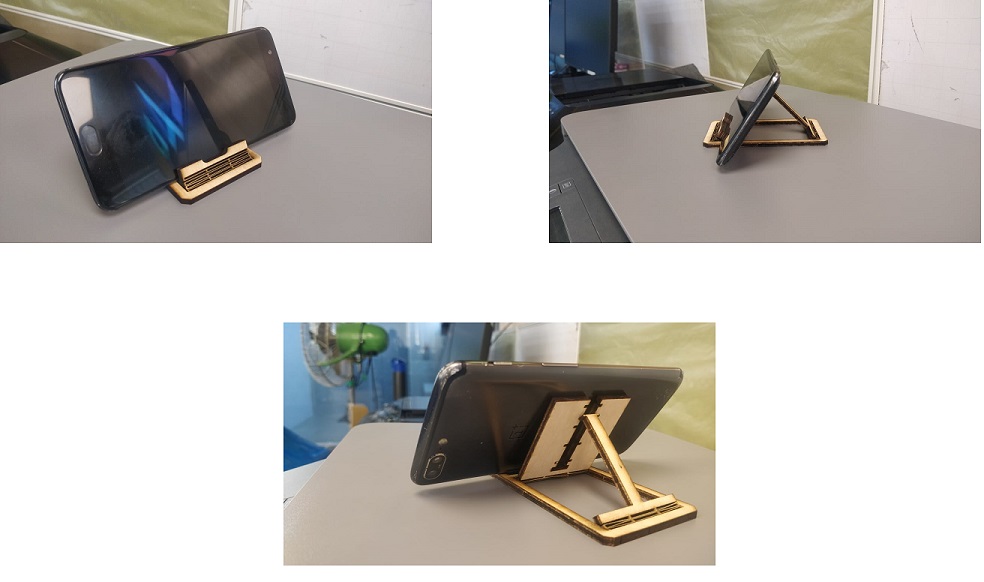
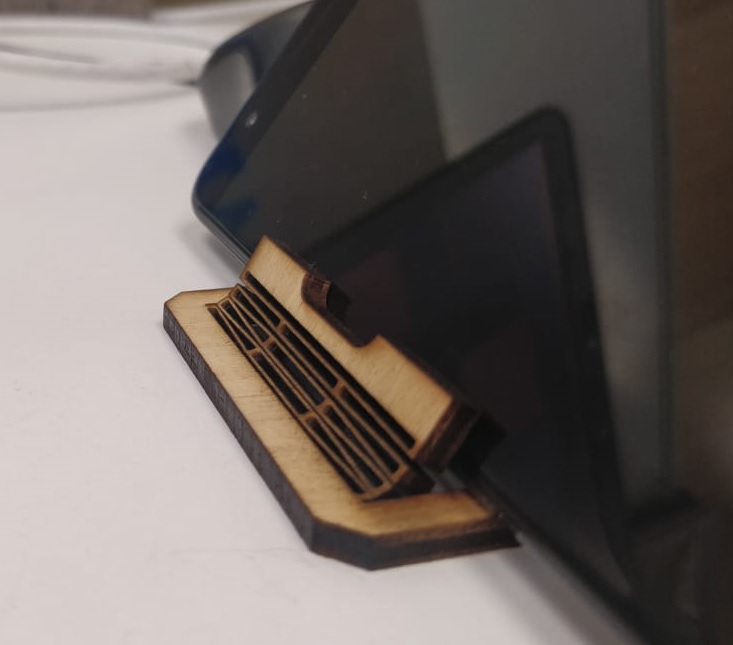
The main attraction of the product was the cuts which it made in the wood due to which it designed as spring like section which was able to comfortably hold the mobile phone and ipads.
THE RESULTS OBTAINED WERE VERY SATISFACTORY.
Further, as a part of my individual assignment, I had prepared a Pressfit Kit which can be rearranged in different types. For designing the pressfit kit, I have used FreeCad. The skecher module of Freecad has been suitable for me for the designing purpose. Moreover I have gathered a lot of information from a Youtube channel https://www.youtube.com/user/TheApeksha1 . The channel is very helpful for learing to design in FreeCad.
In the FreeCad software, there are many tools for ease of work. Initially it was very hard working on the FreeCad software but after going through the tutorials and watchin few videos made my task simple.
Press Fit Kit design in FreeCad:-
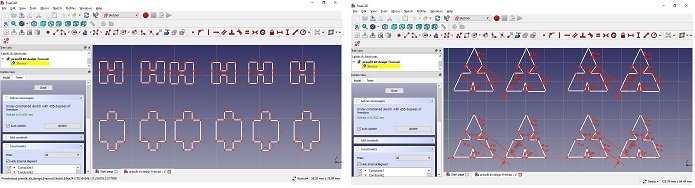
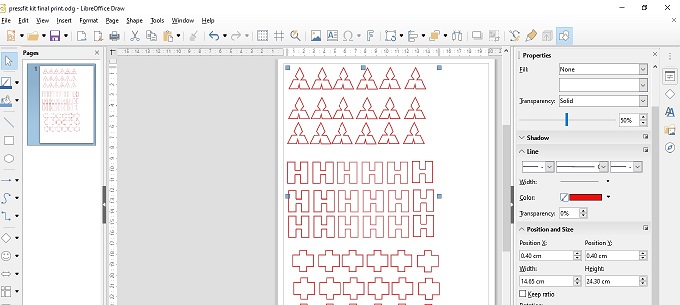
Further, I exported the design in .svg format from freecad and then opened the exported .svg image through LibreOffice Draw. It is a free software and is easy to work on it. The software is more or less same as Microsoft Office having many tools like LibreOffice Draw, LibreOffice Calculator, LibreOffice Base, Libre Office Writer etc.. The design exported and corrected in the LibreOffice Draw is shown in the image below:-
Futher, the file was saved in .obj format and was processed for printing in Epilog Job Manager. While giving the print in the epilog job manager parameters has to be set for cutting through the laser cutter. I have selected 3.5 mm thick wood for the purpose of creating my pressfit Kit. The parameters used for cutting in the Epilog Job Manager is as under:-
Speed (in %) |
Power (in %) |
Frequency (in %) |
|
Raster |
5 |
100 |
50 |
Vector |
5 |
90 |
51 |
The parameters are same as that of my earlier job of making a mobile phone holder as it gave the actual result.